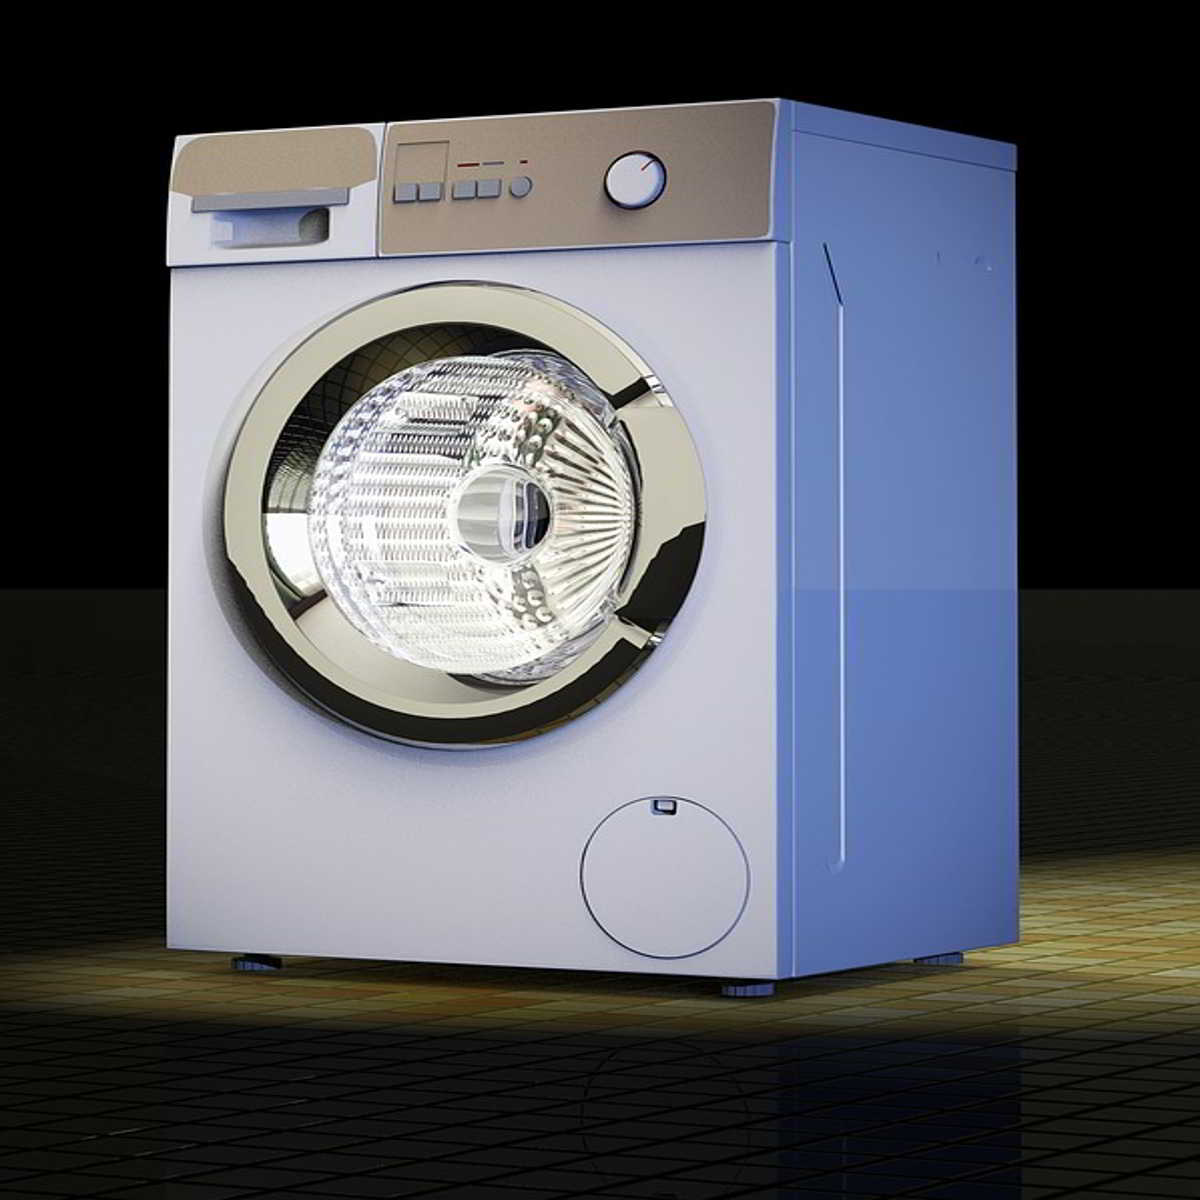
Front load washer leaking from bottom [Why the leak and what you can do to seal the leak]
After looking at the most probable reasons why a washing machine would leak from underneath, I thought it would be nice to write about what you can specifically do if you have a front load washer that is leaking from the bottom.
That’s because for front loading washing machines, the leaking could be originating from something simple as a torn door seal gasket so you may not need to try some of the complicated repairs I suggested in the previous article..
So below I will tell you why your front load washer leaking from bottom and all that you can try to eliminate the leak (there are a couple of other possible solutions besides replacing the door gasket (also called door boot seal or Door Bellows)
Front load washer leaking from bottom – How to fix your leaky washer
Replace your washer’s door seal gasket
As I had mentioned, the most likely culprit is your washer’s door seal gasket.
Now, you have three main options:
- Heat up the door boot seal (to create a tighter seal)
- Trying to repair the tear on the door boot (sometimes the tear is repairable)
- Replace the part
The seal could be loose so do this
A typical reason these parts make the washer start leaking when you run loads is poor sealing.
So try this and see if your washer will stop leaking from the bottom of the door:
Run a cycle
Start your washer (choose the longest cycle) and run it at its maximum temp setting (you run an empty cycle).
Wait 24 hours (do not open the door before 24 hours)
Once the cycle has ended, leave the washer to sit for about 24 hours – to be clear, you will not open the door until 24 hours have lapsed from the time the empty cycle ended.
But why are we doing this, you might ask?
Well, the idea is to initially make the seal heat up which in turn might make it conform/align to the washer’s door perfectly as the washer cools down as it sits idle (remember we had it at the max temp).
Apply liquid softener (on the seal)
One last step: Apply a little liquid fabric softener around the door boot seal.
You want to put a little softener, of course, on your finger then run it all around your washer’s door seal.
To be clear, you just want your finger to get wet so don’t apply excessively.
That’s it!
You may want to repeat the entire process every few months (6 months ideally) based on how much you wash.
Door gasket washer repair (rubber gasket repair)
Depending on how bad is the tear, you may try to repair your door boot seal.
Why I urge you to consider repairing it first is because new gaskets can cost anything from $65.
Meanwhile, the repair accessories (electrical tape, super glue, and Silicone spray) will set you back way less .
Watch the YouTube tutorial below for complete instructions on how to patch up your cracked boot seal (it might work!).
Alternative repair
An easier repair might be drying the washer completely (wipe water away then dry it 100%)
Next, identify all the rips/cracks on the rubber boot seal.
Now apply E6000 glue reasonably in all the tears (top the rips off with the adhesive too) and allow it dry well.
That seals the leak too (on occasion) .
Front load washer leaking from bottom – How to fix your leaky washer
Washing machine rubber seal replacement
The next thing you need to try is changing out the door boot seal – and it is a more permanent solution than patching up the component..
The good news is that the cost to replace rubber seal on front load washer is not, in general, that crazy (check current price).
In other words, you could end up saving yourself at least a couple hundred bucks (or more compared with replacing the watcher) when you go the part replacement route.
By the way, you may also find the part from a local appliance parts store even if the part could be pricier than in online stores.
Keep in mind that YouTube has a few great step-by-step installation videos you can watch if you’re not sure about how to install it after it is delivered.
So search on YouTube -watch more than one (preferably) repair video and combine the techniques you see there.
Oh, and you can take pictures (at all stages) as you disassemble your washer for repair to make it easy for you when reassembling it.
One thing I should mention is that apart from being torn, you might notice that your old gasket has become moldy and gross, which makes the washer smelly.
I should say that it’s a shame the part is somewhat crappy these days (I don’t understand why manufacturers cannot come up with a better design) so don’t be surprised to find that you may keep replacing it once in a while.
Pro Tip 1: One of the most common causes of the door boot getting shredded is overloading your washer.
Prop Tip 2: Do not forget that some models use a door boot seal without drain port. So make sure to check your original part before you order.
Pro Tip 3: If the washer gets smelly, try to use Affresh at least once a month(It removes tub residue from the detergents).


We have certify & EPA license expert technicians who can “repairs your Air Condition & Furnace” , doesn’t matter how old you units